> For the complete documentation index, see [llms.txt](https://docs.connect.jfrog.io/llms.txt). Markdown versions of documentation pages are available by appending `.md` to page URLs; this page is available as [Markdown](https://docs.connect.jfrog.io/features-new-ui/devices/fleet-overview/map.md).
# Locate Devices
JFrog Connect uses Google Maps to present device locations based on the device IP addresses. You can also set locations manually. Use the map in Connect to locate all your devices.
When a device registers to JFrog Connect, the Google Maps geolocation service uses the device’s public IP address to assign it a location. This location is an estimate and might not be exact. This page describes how you can view devices on a map in JFrog Connect’s web UI and different methods to change the device location.
## View Devices on Map
Viewing devices on the map is not available to on-prem customers.
You can view a map of your device locations in the [Fleet Overview](/features-new-ui/devices/fleet-overview.md) page. Go to Overview in the left navigation tree and scroll down to the map. Each peg on the map represents a device. Green pegs are online and red are offline. When you click a peg, you can see more details about the device.
You can adjust the position and magnification of the map to see all of the devices in the map.
### Locate Device on the Map
If you know the device name, you can use the map to find the location of a device. Just choose the device name in the dropdown list above the map, and the map will focus on that device and display its details.
## Change Device Location
The different ways to change a device's location are described below.
### Manual Location
To change a device’s location manually, do the following:
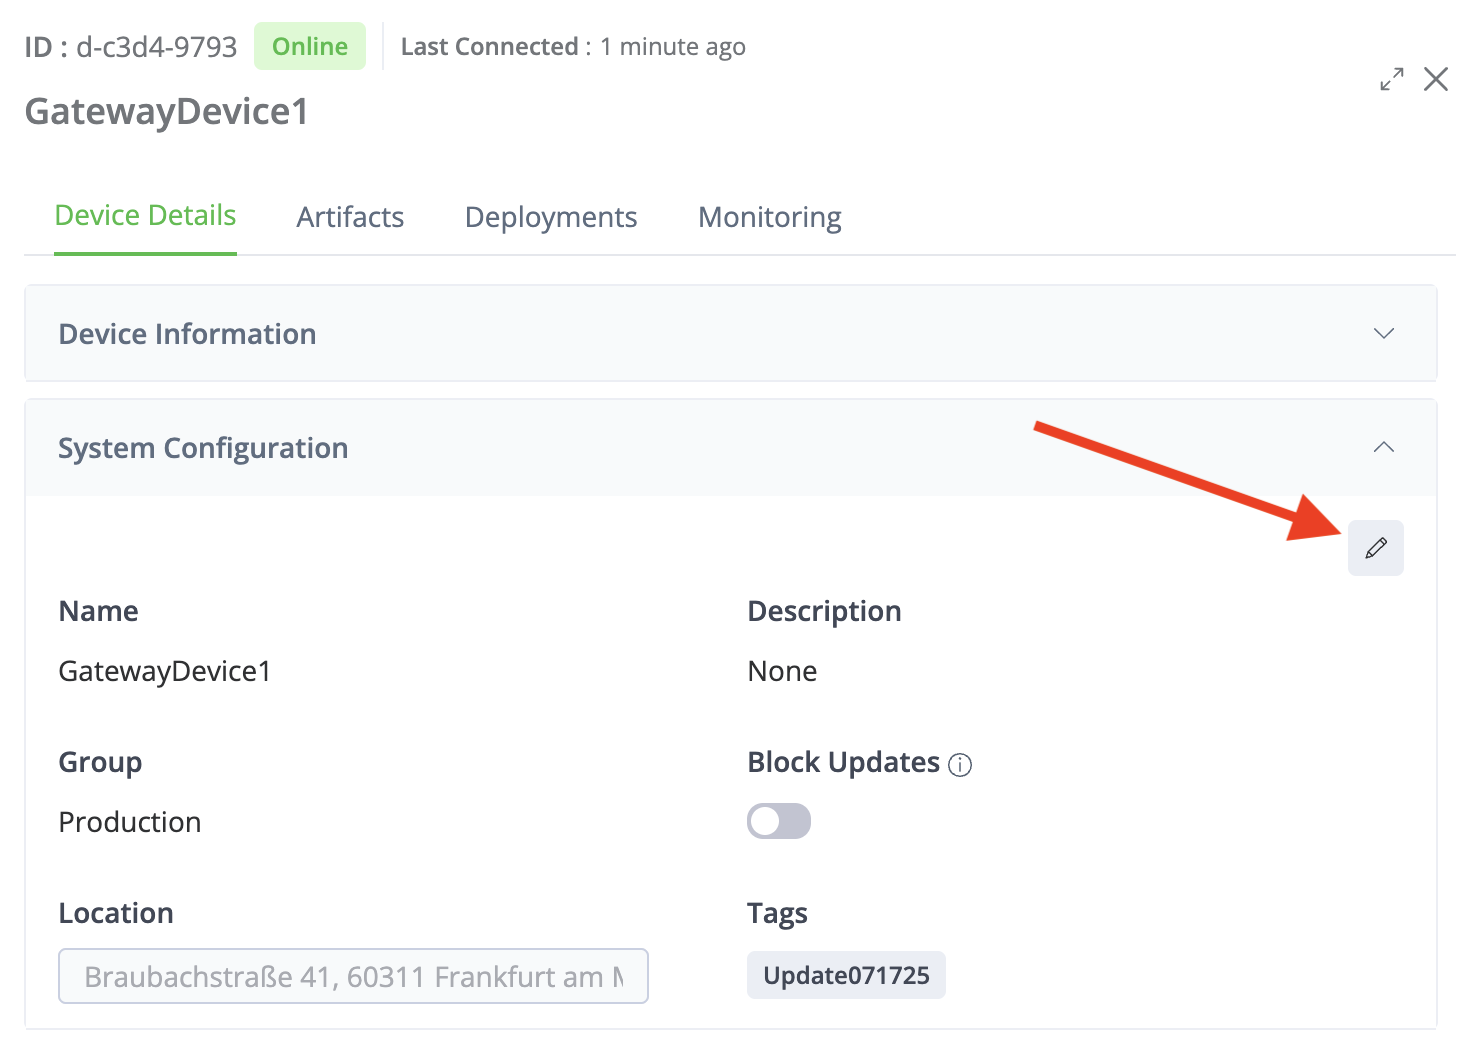
1. Go to **Devices** in the left navigation tree and click the device you need to change. A panel opens on the right showing device details.
2. In the **Device Details** tab, go to **System Configuration**, and click the **Edit** icon (pencil).
3. Under **Location**, choose **Manual**.
4. Enter the new location and save.
### Refresh Location
You can refresh the locations of your devices in the fleet. However, the refresh function does not act on any device that has Manual Location configured.
To refresh devices, do the following:
1. Go to **Fleet Settings** in the left navigation tree and choose the **Fleet** tab.
2. Click **Refresh Location**. This will refresh the location of devices in the fleet according to their IP addresses. Devices that have been set for Manual location will not be refreshed.
## What’s Next?
Learn how to get a drill-down of [device details](/features-new-ui/devices/view-device-details.md).
---
# Agent Instructions
This documentation is published with GitBook. GitBook is the documentation platform designed so that both humans and AI agents can read, navigate, and reason over technical content effectively. Learn more at gitbook.com.
## Querying This Documentation
If you need additional information that is not directly available in this page, you can query the documentation by asking a question.
Perform an HTTP GET request on the following URL with the `ask` and `goal` query parameters:
```
GET https://docs.connect.jfrog.io/features-new-ui/devices/fleet-overview/map.md?ask=&goal=
```
`ask` is the immediate question: it should be specific, self-contained, and written in natural language.
`goal` is what the user is ultimately trying to achieve, the reason they need the answer. Sharing it helps GitBook give you a better, more relevant answer. A goal is most helpful when it describes the outcome the user wants rather than restating the question. For example, with `ask=how do I create an API token`, a goal like `automate deployments from our CI pipeline` lets GitBook tailor the answer to that use case.
The response will contain a direct answer to the question and relevant excerpts and sources from the documentation.
Use this mechanism when the answer is not explicitly present in the current page, you need clarification or additional context, or you want to retrieve related documentation sections.