Create Update Flow
Update Flow is a completely customizable approach to OTA updates. An update flow consists of a set of steps enabling you to build reusable procedures to deploy updates to your devices.
An Update Flow (also called a flow) is a set of instructions that carries out a software update on your edge devices. In JFrog Connect, you build a flow using individual steps that are carried out in sequence. Each step has a step type, like Run Script or Deploy Docker Image, and completes a discreet task in the flow. You can define as many steps as you need in the flow.
To realize the full power of update flows, keep reuse in mind. When you combine features like update parameters and tags with a flow, you can use the flow as a template that will be flexible enough to use over again for deploying software to your entire fleet.
To create a flow, do the following:
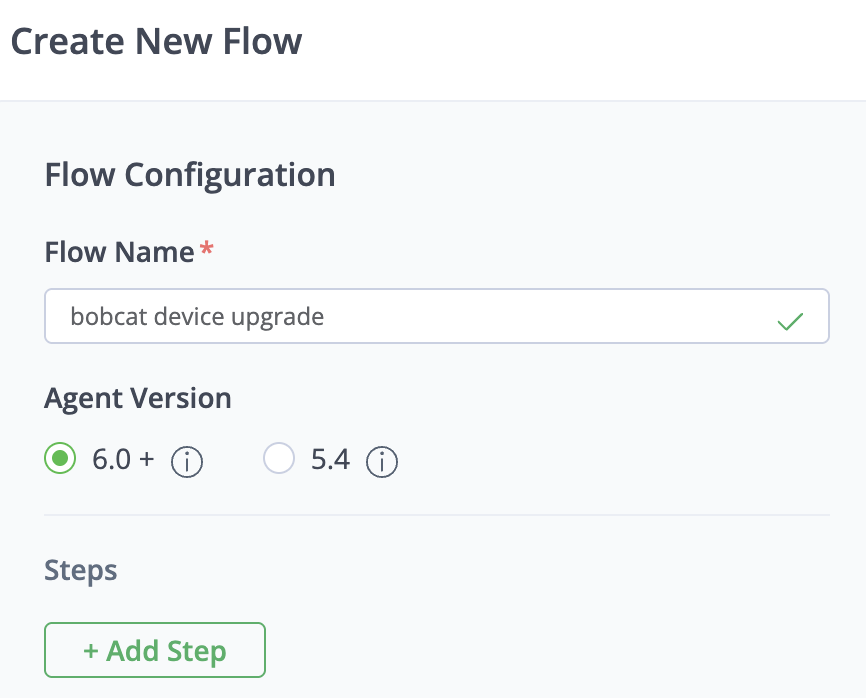
In the Connect web UI, go to Deployments in the left navigation pane and then the Update Flows tab. Click Create New Flow.

Enter a Flow Name, e.g., update-docker-image.

Choose the Connect Agent Version on the devices you are updating. (If all devices in the fleet have Connect Agent 6.0 or higher, you will not see these options in the UI and can skip this step.) Most devices have a version higher than 6.0, but if your devices have version 5.4 or below, choose 5.4.
For 6.0+, Connect will use the latest versions of the step types, which include integrations with Artifactory, Xray, Docker Compose.
For 5.4, Connect will use legacy versions of the step types which are compatible with that version of Connect Agent.
For each step you add to the flow, add the information as described below. You may add as many steps as you need:
Click Add Step.
Choose the Step Type, enter a Step Name, and click Create Step.
Complete the configuration wizard for the step according to the step type you have chosen, and save the step. For more information about the configuration, see the configuration page relating to the specific step type.
(Optional) Change the order, edit, or delete steps. As you create steps in the update flow, the steps appear in a list, in the order that they will run. Each step has a handle on the left side. To move a step, grab the handle with your mouse and move the step to the desired position. To edit or delete a step, click one of the icons to right of the step.
Tip: For each step type, there is a separate documentation page describing the configuration procedure.
To reboot the device after all the steps have run, mark Reboot after Update.
To configure a general rollback in case of failure, mark Rollback on Failure and choose how you want to run the rollback.
Command: Enter the command that will perform the general rollback.
Script: Upload the script that will perform the general rollback.
Click Create Flow and then go to the Update Flows table to view it in the list of flows.
What’s Next?
Learn about the Step Types that you can include in an update flow.
Last updated
Was this helpful?

